Today, we’re learning about tinctures, a beautiful, ancient method of preserving the medicinal power of herbs in liquid form.
Think of a tincture as a concentrated herbal extract—essentially, we’re capturing the essence of a plant in a bottle, allowing us to use it effectively and conveniently for health and wellness.
Welcome to Grace Walk Farm, our family homestead in western NC. We share the highs and lows of our homestead journey, in hopes that it will encourage you to grow your own food too. Click here to grab our Beginner Garden Guide for free! Join our 600K strong Instagram community of homesteaders here. Thanks for stopping by!
What is a Tincture?
A tincture is a potent herbal extract made by soaking herbs in alcohol. Alcohol acts as a solvent, pulling out the beneficial compounds from the plant material—things like essential oils, alkaloids, and flavonoids.
Once the herbs have steeped for several weeks, you’re left with a concentrated liquid that contains the plant’s medicinal qualities. The beauty of tinctures is their longevity; they can last for years if stored properly, ready to be used whenever you need them.
How to Make a Tincture
We’re going to use the folk method for making our tincture. This is a flexible approach that doesn’t rely on precise measurements, allowing us to work with nature and intuition.
- Choose Your Herbs: Start with the herb you want to work with, either fresh or dried. Fresh herbs can be potent, but dried herbs work well too. For your first tincture, something like chamomile, peppermint, or echinacea is a good start.
- Prepare Your Jar: Grab a clean glass jar with a lid. We’ll use a pint jar, but adjust the size depending on how much tincture you want to make.
- Fill the Jar with Herbs: For fresh herbs, chop them up a bit to increase the surface area. Fill the jar about halfway with fresh herbs or a quarter full with dried herbs.
- Add Alcohol: Pour your alcohol over the herbs until they’re fully submerged. You’ll want to use a high-proof alcohol, like vodka (40-50% alcohol), because it’s strong enough to pull out the plant’s medicinal compounds but still safe to ingest. Fill the jar to the top, leaving just a little room for the liquid to move around.
- Seal and Shake: Put the lid on tightly and give it a good shake. This helps to start the extraction process.
- Steep: Let the jar sit in a cool, dark place for 4-6 weeks. This allows the alcohol to draw out the medicinal properties of the herbs. Every day or two, give the jar a shake and make sure the herbs stay covered in liquid. Over time, you’ll see the liquid start to take on the color of the herbs.
- Strain and Bottle: After 4-6 weeks, it’s time to strain out the herbs. Use a fine-mesh strainer or cheesecloth, and squeeze out every last drop of liquid from the herbs. Pour the tincture into a clean, amber glass bottle (the dark glass helps protect it from light) and label it with the herb name and date. Now you have a tincture!
How to Take a Tincture
When taking tinctures, start small and go slow, especially if you’re new to herbal remedies. A common dosage is about 1-2 dropperfuls (roughly 20-40 drops), taken 1-3 times a day, depending on the herb and what you’re using it for. You can place the drops directly under your tongue for faster absorption or dilute them in a small amount of water or tea if the taste is too strong.
Each herb has its unique effects and optimal dosages, so always tune into how your body responds. Remember, you’re working with potent plant medicine here, so respect each tincture’s power.
With tinctures, you now have a portable, potent form of herbal medicine, allowing you to carry the power of plants wherever you go.
How to Make Tinctures Without Alcohol
You can make tinctures without alcohol, and there are several alternatives that allow us to extract the medicinal properties of herbs in a gentler way.
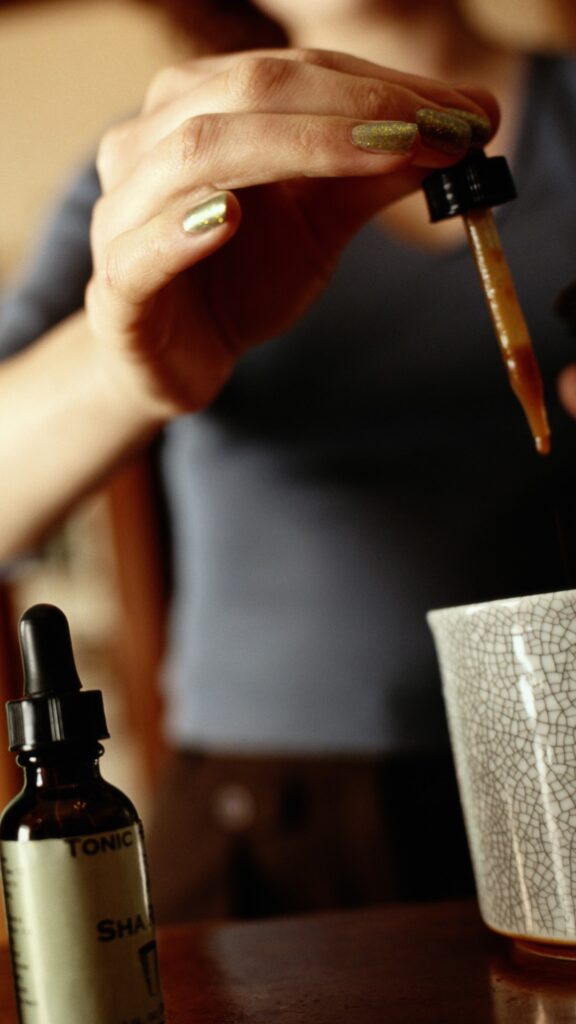
Non-alcoholic tinctures are a great option if you prefer to avoid alcohol or are making tinctures for children, pets, or those sensitive to alcohol. Let me walk you through a couple of popular alcohol-free options: glycerin and vinegar tinctures.
Glycerin Tinctures (Glycerites)
Glycerin is a sweet, syrupy liquid derived from plants, often coconut or palm, and it’s quite effective at extracting certain properties from herbs. Glycerites are gentler than alcohol tinctures, but they don’t extract as many compounds, so they’re best for milder herbs.
How to Make a Glycerin Tincture
1. Choose Your Herbs: Just like with an alcohol tincture, start with fresh or dried herbs.
2. Prepare a Jar: Use a clean glass jar, and fill it about halfway with fresh herbs or a quarter full with dried herbs.
3. Mix Your Glycerin Solution: For this method, we dilute the glycerin with a bit of water. A good ratio is 3 parts glycerin to 1 part distilled water. Mix it up, then pour over the herbs, making sure they’re completely covered.
4. Seal and Steep: Put a lid on your jar and give it a good shake. Let it sit in a cool, dark place for about 4-6 weeks, shaking it every day or two.
5. Strain and Bottle: After steeping, strain the herbs out with a fine mesh strainer or cheesecloth. Pour the liquid into a dark glass bottle, label it, and you’re good to go!
Glycerin tinctures taste sweet, which makes them ideal for children or anyone who dislikes the taste of alcohol. They generally have a shorter shelf life than alcohol tinctures, lasting about 1-2 years if stored properly in a cool, dark place.
Vinegar Tinctures
Vinegar, particularly apple cider vinegar, is another excellent alcohol alternative for tinctures. It extracts many of the same beneficial compounds and brings its own health benefits. Vinegar tinctures (also called acetums) are a bit more acidic and may have a tangy taste.
How to Make a Vinegar Tincture
1. Choose Your Herbs: Use fresh or dried herbs, just like before.
2. Prepare a Jar: Fill your glass jar halfway with fresh herbs or a quarter full with dried herbs.
3. Add Vinegar: Pour raw apple cider vinegar over the herbs, covering them completely. Fill the jar to the top, leaving a little space.
4. Seal and Steep: Vinegar can corrode metal lids, so if you’re using one, place a piece of parchment paper between the lid and jar before sealing. Let the tincture steep in a cool, dark place for about 4 weeks, shaking it every day or two.
5. Strain and Bottle: After 4 weeks, strain out the herbs and transfer the liquid to a dark glass bottle. Label it, and you’re ready to use it!
Vinegar tinctures usually last about 6 months to a year when stored in a cool, dark spot. They can be a bit more acidic on the palate, so they’re often diluted in water or tea before taking.
How to Use Alcohol-Free Tinctures
Dosages are similar to alcohol tinctures: about 1-2 dropperfuls, 1-3 times a day, depending on the herb and intended effect. Because glycerin and vinegar are gentler solvents than alcohol, these tinctures may be slightly less potent, so you might want to start with a full dropper and adjust as needed.
With alcohol-free tinctures, you still get the wonderful properties of herbs in a more accessible form. It’s a simple yet powerful way to make plant medicine available for everyone.
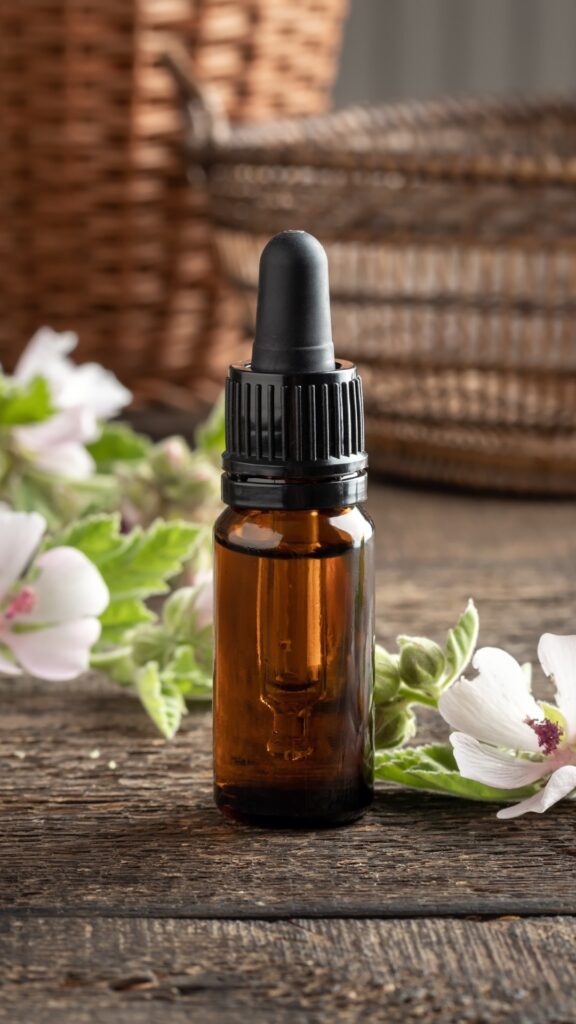
Making Your First DIY Tincture
For a first-time tincture maker, it’s best to start with herbs that are gentle, widely used, and generally well-tolerated. Here are a few great herbs to work with, each with unique benefits and relatively straightforward preparation.
1. Chamomile (Matricaria chamomilla)
- Benefits: Chamomile is known for its calming properties. It’s wonderful for stress, mild anxiety, and digestive discomfort.
- Why It’s Good for Beginners: Chamomile’s gentle nature makes it easy to work with, and it yields a beautifully fragrant tincture.
- Tincture Tip: Use dried flowers for a milder flavor, or fresh flowers for a slightly stronger taste.
2. Peppermint (Mentha piperita)
- Benefits: Peppermint is excellent for digestive health, helping to soothe upset stomachs, reduce bloating, and ease nausea. It also provides an energizing boost.
- Why It’s Good for Beginners: Peppermint is easy to find, very safe, and makes a tasty tincture.
- Tincture Tip: Fresh leaves tend to yield a more vibrant flavor, but dried will work well too. This tincture is strong and minty—perfect for a refreshing pick-me-up!
3. Echinacea (Echinacea purpurea)
- Benefits: Echinacea is traditionally used to support immune health, especially helpful at the onset of colds.
- Why It’s Good for Beginners: This hardy herb is easy to work with, and tinctures capture its immune-supporting properties effectively.
- Tincture Tip: You can use the leaves, flowers, or roots for this tincture. Root tinctures will be a bit stronger and may require a little more time to steep.
4. Lemon Balm (Melissa officinalis)
- Benefits: Lemon balm is calming and soothing, good for reducing stress, supporting sleep, and aiding digestion.
- Why It’s Good for Beginners: Lemon balm has a mild, pleasant flavor and is a forgiving herb, making it a favorite for first-timers.
- Tincture Tip: Fresh lemon balm leaves work well in tinctures, bringing out their natural citrusy scent.
5. Lavender (Lavandula angustifolia)
- Benefits: Lavender is a gentle herb for relaxation, stress relief, and aiding sleep.
- Why It’s Good for Beginners: Its scent alone is a treat! Lavender is easy to tincture and adds a calming element to any herbal apothecary.
- Tincture Tip: Dried lavender flowers are ideal, as they tend to be more potent than fresh flowers in tinctures.
6. Calendula (Calendula officinalis)
- Benefits: Calendula is commonly used for its skin-healing properties and can also be taken internally for its mild anti-inflammatory effects.
- Why It’s Good for Beginners: It’s a gentle, approachable herb, and the bright flowers make the process visually pleasing.
- Tincture Tip: Use dried flowers to avoid excess moisture, which can sometimes make tinctures cloudy.
7. Ginger (Zingiber officinale)
- Benefits: Ginger is fantastic for digestion, nausea, and supporting circulation.
- Why It’s Good for Beginners: It’s readily available, versatile, and its spicy, warming nature makes for a potent, effective tincture.
- Tincture Tip: Fresh ginger root is best. Peel and chop it before adding it to your jar.
Getting Started with Your Chosen Herb
Pick one or two herbs to begin with. Use the folk method we talked about earlier, adjusting the amount of fresh or dried herb to your jar and covering it with alcohol (or a non-alcoholic alternative).
As you experiment, pay attention to the taste, smell, and effects of each tincture. Keep a journal of your tincturing journey—note how each tincture looks, smells, and feels.
Herbs are forgiving, and with a little patience, you’ll create something special!
Ready to learn more about herbs? Grab my guide to using herbs at home called “The Old Ways” here. stan.store/Gracewalkfarm
Also check out these blogs:

