If you love scrolling Pinterest gardens, but feel unsure how to create your own garden paradise, this is for you. Let’s start planning your garden together. The first step is choosing what type of garden you want to grow.
There are lots of options, ranging from a traditional in-ground garden to raised beds or containers. Let’s take a quick look at all three options and then you can decide which one will be the best fit for your space.

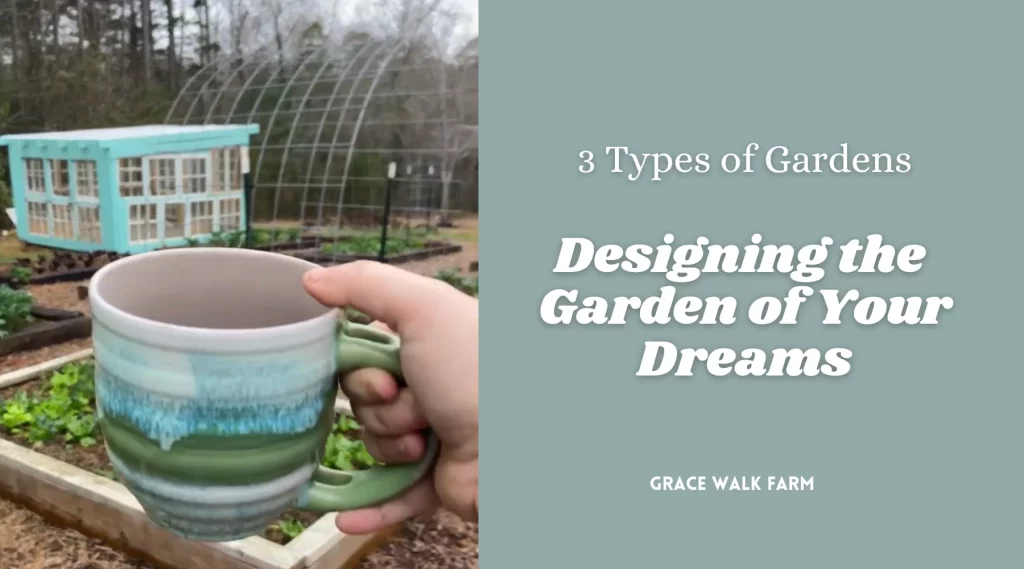
3 TYPES OF GARDENS
There are three main types of gardens and we’re going to look at the pros and cons of each one. On our farm, we actually have all three types of gardens in different areas, depending on the soil and what we are growing in each area.
You might decide to focus on one type of garden or you might want to experiment and try different methods to see which one works best and what you enjoy.
I love our in-ground garden areas for my high production crops. We have two in-ground garden plots where we grow potatoes, green beans, tomatoes, and pumpkins.
But we also have a raised bed garden and if I’m honest, it’s my favorite. I love the aesthetics of it. Seed starting seems to be easier for me in raised beds, and the weed pressure is far less what we deal with in the in-ground garden spaces.
OPTION 1 – IN-GROUND GARDEN

PROS:
· Inexpensive startup
· May require less watering – plants at ground level often need less water
· More natural
· Easy to change up the layout and rotate crops

CONS:
· More weeds so you will need more mulch or weed barrier
· Soil compaction – walking on your garden can cause soil compaction
· Less drainage – more prone to flooding
· May take longer for the soil to thaw in spring compared to raised beds
· May need soil amendments
· Hard on the back

TIPS FOR BUILDING AN IN-GROUND GARDEN
Deal with weeds before you begin. Lay out a black plastic tarp or a thick layer of cardboard over the entire area where you plan to place your garden. Leave this in place for 2-3 months to kill off any grass or weeds that would be hidden underneath. The idea here is to block the sunlight and kill anything that is growing in the space where you will put the garden.
If you don’t have the time to prep your space for a few months, you can still grow a very successful garden using a no-dig method. Cover the entire space with a thick layer of cardboard. Then pile 10-12 inches of new soil on top. The cardboard will smother any grass or weeds over time and it will eventually break down to become part of the garden.
This no- dig method eliminates the need for a tiller and makes building a new garden from scratch pretty simple. You will need to purchase soil, but you can often find it on sale at garden centers during the spring. Another option is to buy soil by the truck load. If you need a lot of soil, that’s usually most budget-friendly option.
OPTION 2 – RAISED BED GARDEN

PROS:
· Fewer weeds
· Good soil from the start
· Not permanent – you can move the beds if needed
· Less soil compaction
· Better drainage
· Easier on the back
· Less pest pressure (still some, but not as bad since it is up off the ground)

CONS:
· Needs more frequent watering
· More upfront cost to build or purchase beds
· Harder to use machines (tiller or planting machines/attachments)
· May not last forever, depending on material used

Best Materials for Building Raised Beds:
· Pressure Treated Wood
· Cedar
· Cypress
· Large stones
· Concrete
· cinder blocks
· bricks
· metal beds

TIPS FOR BUILDING A RAISED BED GARDEN
Raised bed garden boxes can be built from a variety of materials. Get creative and see what you can find to repurpose into a new garden bed. Old fence posts, logs, large rocks, and bricks can all be used to build garden boxes.

If you want to build wooden boxes, choose cedar or cypress because they are resistant to rot and will hold up to the elements. Pressure treated lumber is another option for building garden boxes. You can design your boxes in any size, shape, or dimension that you like.
Keep in mind that deep raised beds require more soil to fill them and it can settle and compact over time. You only need 10-12 inches of soil in your bed for growing most vegetables.
The process of setting up raised beds is the very same as creating an in-ground garden with the no dig method. Layers of cardboard go in the bottom, overlapping under the sides if possible for maximum weed barrier. Then fill the beds with a good, nutrient-rich soil.

OPTION 3 – CONTAINER GARDEN
Maybe you don’t have the space to plant a garden because you live in an apartment or dorm room. Perhaps you live in a rental and the landlord won’t agree to let you build a garden. You can still grow food right where you live as long as you access to some sunlight.
A sunny balcony or patio is all you need to grow a garden. Before I grew food in the ground or in raised beds, I grew in 5-gallon buckets. Drill some drainage holes in the bottom and fill your buckets or pots with good soil. You can grow a wide variety of vegetables and herbs in containers.

What can you grow in containers?
- Bush varieties of beans, cucumbers, and melons
- All the greens – lettuce, kale, spinach, chard, arugula, collard greens
- Determinate tomatoes (look for dwarf or early girl varieties)
- Cherry tomatoes
- Peppers
- Squash (with a stake)
- Herbs
- Microgreens
TIPS FOR CONTAINER GARDENING
Water frequently in the hottest months. Soil in pots or containers dries out quickly so you may need to water more often. Container gardens also require extra fertilizer. The plants will quickly deplete the soil of its nutrients so make sure you fertilize your container plants on a regular basis, usually every two weeks.
So there you have it… which type of garden will you choose? Are you ready to take the next step? Come be a part of the Extra Grace family and you’ll have support every step of the way.